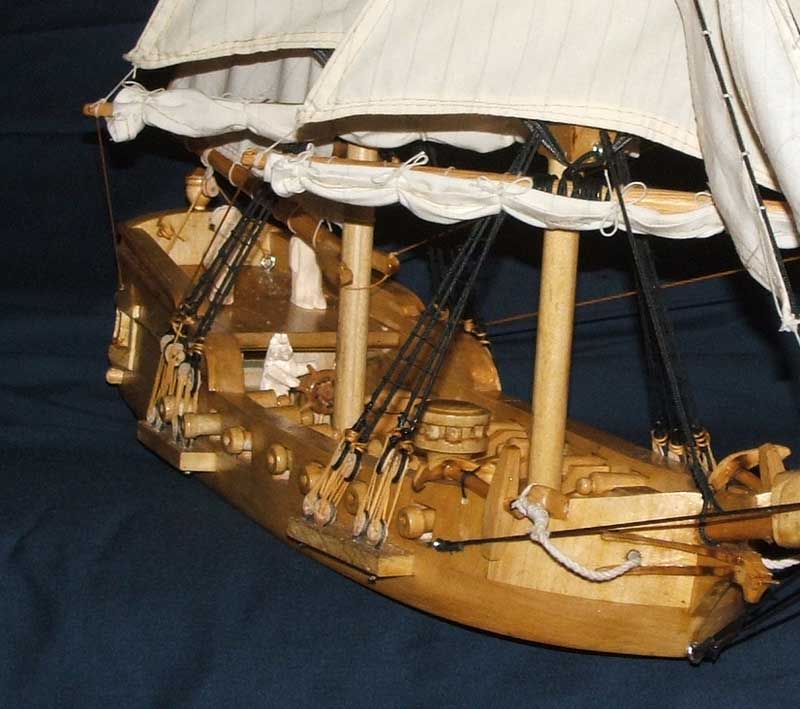
This will be a long post because while I have been writing and chronicling what has been going on in the boat shops, I have not been good about putting up posts. so now it is catch up time. First we needed to focus on the Friendship Sloop, getting her ready for the season. Then launching and rigging her and even getting in an occasional weekend cruise.

Friendship ready to move, picture taken early in June

Transport day June 10th
Then we had a little time to re-focus on the Penny Fee, we got to do some of the fun jobs. The rope fender, floorboards, rudder, and oars. I would have liked to have slowed down and tried to savor these jobs more, but then we never would have gotten the boat in the water this season.
The rope fender:
As described in an earlier post, we designed the outwale of the gunwale to have a groove or gutter running the length of the boat so that the rope that we are going to use as a fender will lie evenly along the edge of the boat. The fender is attached to the boat with stainless steel screws. The installation is fairly simple, the idea is to place a screw within the twist of the rope so that only the innermost strand is pierced by the screw and secures the rope to the outside of the gunwale. We started at the transom and worked along to the bow, around to the other side of the vessel and back to the transom again. At least that was the plan.
I had bought 36 feet of 1 1/8” rope, which should have been enough to do the job easily. I back spliced an end with almost no waste and started to attach the rope. I got most of the way down the starboard side and noticed that it looked like there was not enough rope. An optical illusion, I thought. To be safe, I felt I had better double check, I checked and found that there was not enough rope. Then I measured the rope and found that it was not 36 feet long, but 32. Oops.
Some desperate calls to Hamilton Marine, and we determined that whatever I had bought was a closeout and not a standard rope. Since they could not match it, the only plan was to replace it. They offered to do so free of charge and a new length of rope was on the way. The new rope arrived in 48 hours, and I have to say that the customer service at Hamilton Marine was excellent. I had found that to be true in the past, but when things go wrong it is always nice to find someone who is going to go out of the way to help you out. Anyway, removing the fender we had already installed took a lot of time and then the screw holes had to be filled. Still, in all the new rope went on fast (under two hours) and looks great.

Rope fender in place
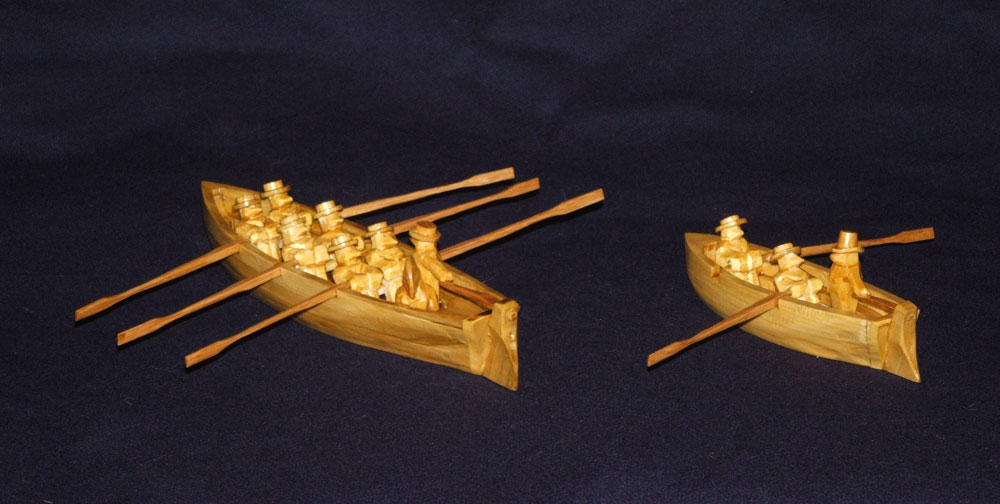
Oars:
We started the oars back in March, but we simply did not have a great deal of time to work on them until recently. All we did was to glue up spruce blanks that were oversized oars. Then we simply shaved the first one down until it was the shape and weight that we wanted. Once we did this it was only a question of whittling down the second oar to match the first.

One oar shaped and the other still in the rough

Matched pair
The oars are quite long (9 foot 6 inches), we decided to leave the loom of the oar above the oarlock position square in section to act as a bit of a counterbalance to the long outboard section of the oar. The oars will be painted to minimize the amount of maintenance that they will need each year. Varnish looks great, but is more of a challenge to maintain on oars.

Oars painted and waiting for their leathers
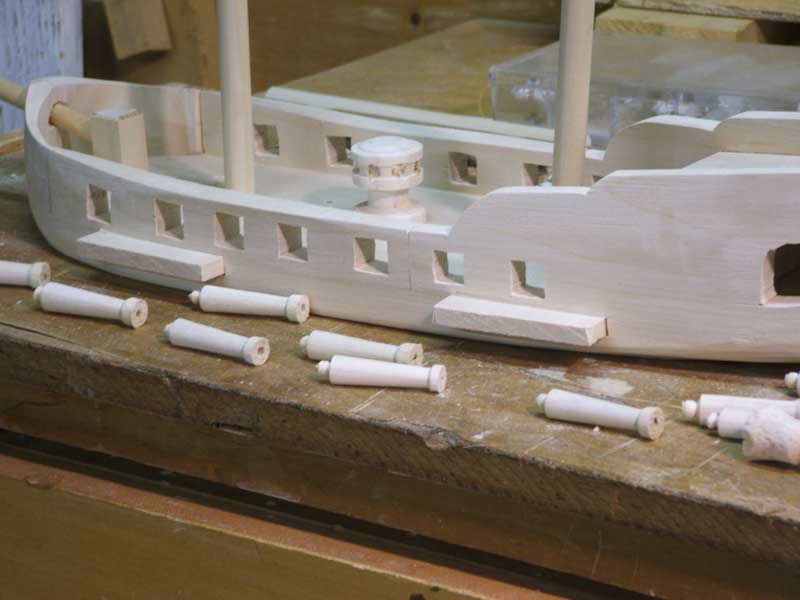
Floorboards:
This is an area of the boat that we wanted to keep simple. 1”x4” pine boards were a relatively inexpensive option, we have been cutting and shaping them so that they lie on top of the floor-timbers and are fastened to cross-pieces of 5/4” pine with bronze screws, countersunk and bunged. The floorboards will get no sealer and will be allowed to weather naturally. The end result should meet our needs, were quick to assemble, and require little or no maintenance.

Floorboards
The centerboard pin:
A very important piece that sometimes gets overlooked in the rush to launch is the centerboard pin. In our case a piece of 3/8” bronze cut so that it is short. In other words, it is recessed about 3/8” from each side. This leaves plenty of pin to do the work, but it also leaves a space to squirt caulking goop. The goop is covered by a rubber gasket, and that is capped with a bronze plate that is held in place with four screws.

The hole for the pin, with the pin in place, the rubber gasket (red), and the bronze cap-plate

The goop has been squirted into the end of the hole with a caulking gun

Bronze cap in place
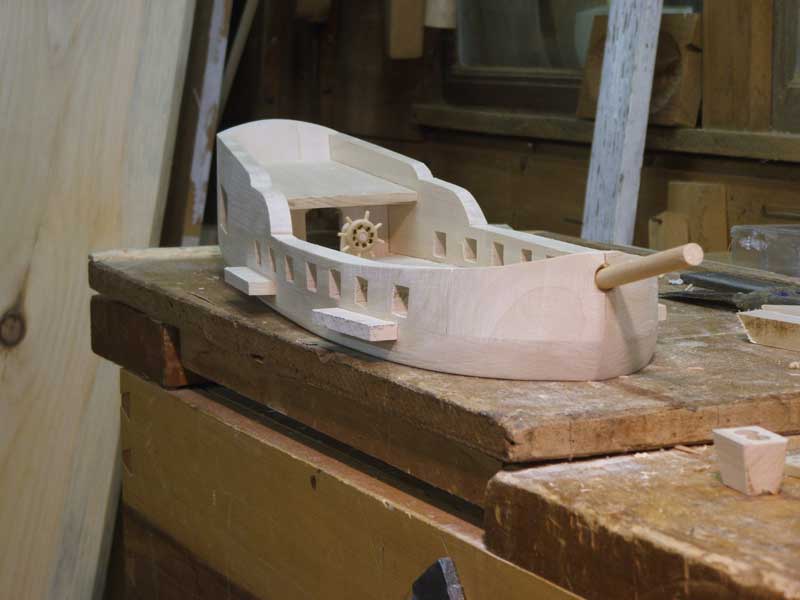
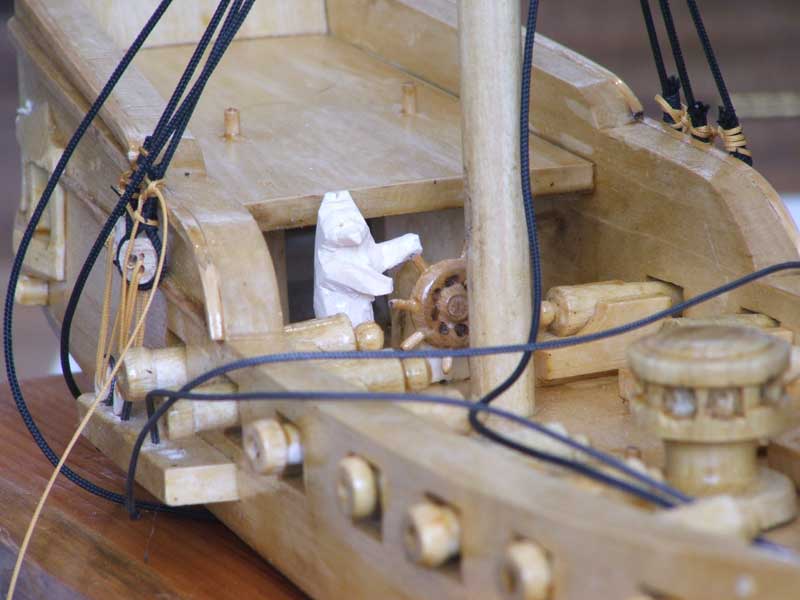
The Rudder:
The plans for the boat came with two options for the rudder. One was a traditional wooden rudder, and the other was for a kick-up rudder made of wooden parts. Unfortunately for us, neither of these designs will exactly meet our needs. We do need a kick up rudder, but we need something that will need less maintenance than the one provided in the blueprints. That design is also a bit more complicated than I would like, and requires some hardware that I was not sure I could find in the limited time I had before launching. So I set about pulling together a kick up rudder design of my own, one I could put together with some off-the-shelf hardware, and one where the lower section of the rudder (the kick up part) is made from a single plate of 1/4″ aluminum.

Design showing rudder down

Design showing rudder up
The rudder design is still not what I would call simple, but the dinghy dock is only in about two feet of water at low tide, and we intend this boat to take us ashore on rocky Maine islands, so a kick up rudder is necessary. The top section of the rudder is glued up from three pieces of plywood, the middle piece is slightly thicker than the aluminum plate. This middle piece of plywood is cut in such a way that it not only provides space for the aluminum bottom plate to pivot, but it also provides stops for the up and down position of the lower section of rudder. The weight of the aluminum section of the rudder will keep it in the down position unless it strikes a submerged object, then the lower section can kick up. A manual line and jamb-cleat on the trailing edge of the rudder allows for locking the lower section of the rudder into the “up” position for extended periods, like when the boat is beached.

Bottom part of rudder with cardboard template.The aluminum was cut with a saws-all and a metal cutting blade. Then hand filed.

Finished rudder in down position
The launch:
Before we trailered the boat to the coast I wanted to launch her here at our local pond where all of the boats we have built have been launched. On a lovely summer evening we sprinkled some hard cider over the bows, slipped her off the trailer, and went for a row. I was too busy checking to make sure there were no problems, but there were not, and as I slowly relaxed, I realized that this was a delightful boat. Stable, she caries her way well, although she does make noise with those laps and a little chop.

The first launch
The next evening we brought the boat over to the sea by trailer, and launched her again, this time in salt water.

Sitting in salt water

The new tender
We need to use her more before we have any real idea what her performance will be like. We will tow her with us to the Friendship Sloop Gathering in Rockland this week, and we will find out how well she tows, then I need to finish the mast, sprit, and sail. Can’t wait to get a sail on her.
If you would like to read all the posts related to this project together, go to the category at the right called “Penny Fee” and click on it. It will pull all the posts on the penny fee onto one page for you.